DIY Marble Tile Installation: What You Need to Know
Introduction to DIY Marble Tile Installation
Marble tiles can add a touch of elegance and sophistication to any space in your home. However, installing them can seem like a daunting task for beginners. With the right tools and a bit of know-how, you can successfully complete a DIY marble tile installation. This guide will walk you through the key steps and considerations to ensure your project is a success.

Gathering the Necessary Tools and Materials
Before you begin your installation, it's crucial to gather all the necessary tools and materials. Here’s a list of what you'll need:
- Marble tiles
- Tile adhesive
- Notched trowel
- Tile spacers
- Grout and grout float
- Tile cutter or wet saw
- Level
- Sponge and bucket
- Measuring tape
Ensuring you have all these items on hand will make the installation process smoother and more efficient.
Preparing Your Surface
The first step in any tile installation is preparing the surface. This involves cleaning and leveling the area where you'll be laying the tiles. A clean, even surface is essential for a flawless finish. Remove any old flooring materials and make sure the subfloor is free of dust and debris.

If your subfloor is uneven, consider using a self-leveling compound to create a smooth base. This step will prevent any potential issues with tile alignment and ensure that the tiles adhere properly.
Laying Out Your Tiles
Before applying any adhesive, it's a good idea to lay out your tiles on the floor to determine the best pattern and check for any necessary cuts. This dry run will help you visualize the final result and make any adjustments before committing to a layout.
Setting the Tiles
Once you are satisfied with your layout, you can begin setting the tiles. Apply the tile adhesive to the surface using a notched trowel. Spread the adhesive evenly, working in small sections to prevent it from drying out before you set the tiles.

Place each tile onto the adhesive, using tile spacers to maintain uniform gaps between them. As you work, use a level to ensure that each tile is flat and aligned with its neighbors.
Grouting and Finishing Touches
After the adhesive has set (usually 24 hours), you can begin grouting between the tiles. Mix your grout according to the manufacturer's instructions and apply it using a grout float. Press the grout into the spaces between the tiles, ensuring they are completely filled.

Once grouted, use a damp sponge to wipe away excess grout from the tile surfaces. Be sure to rinse the sponge frequently to avoid leaving grout haze on the tiles.
Caring for Your Marble Tiles
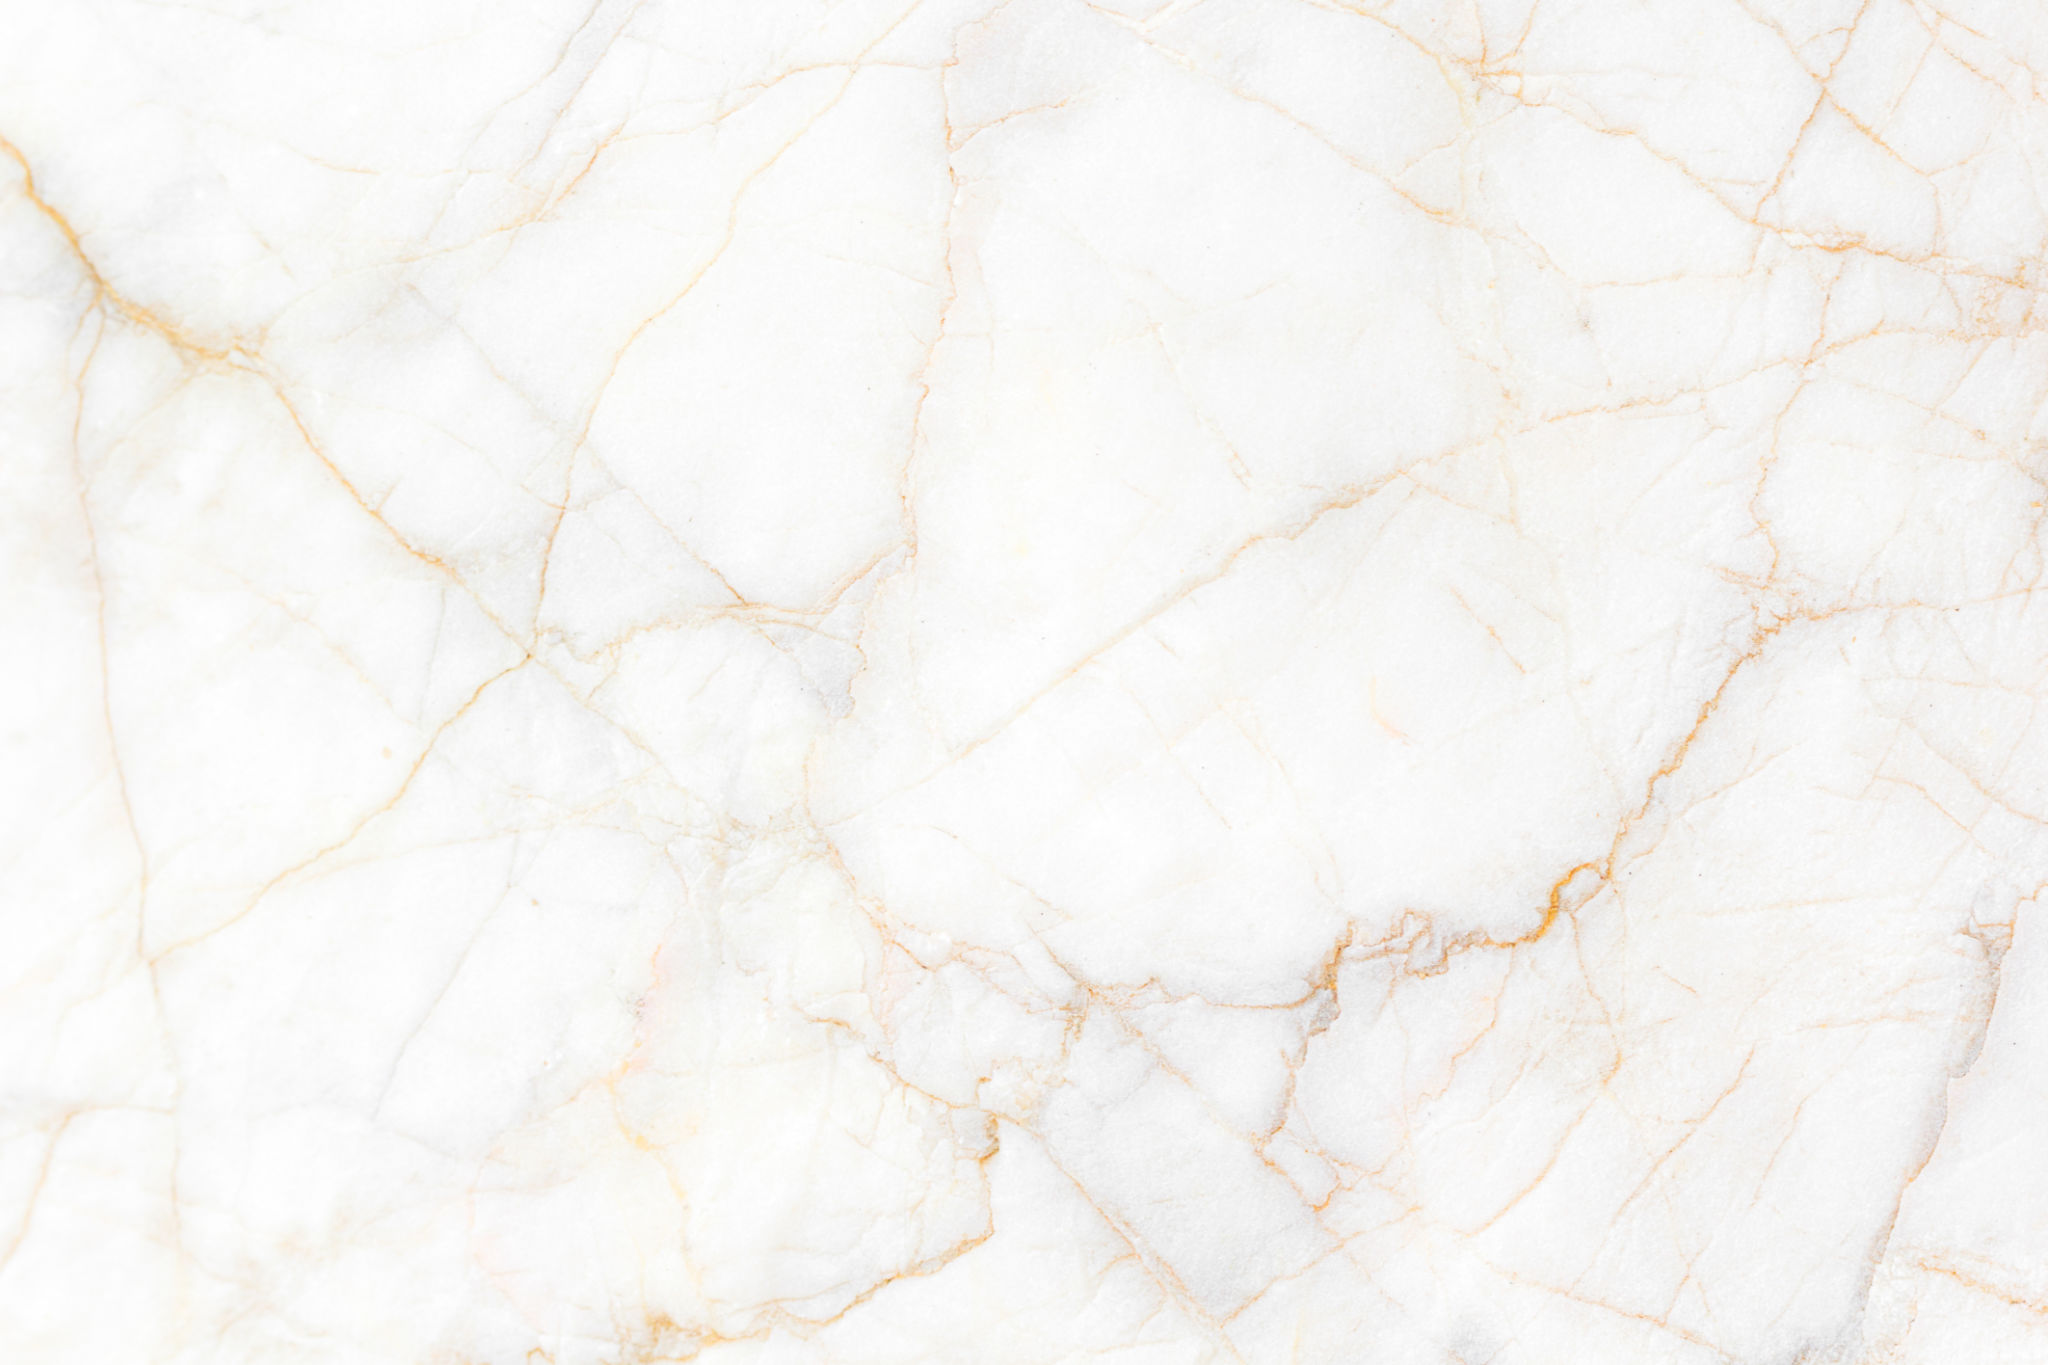
Marble is a natural stone that requires special care to maintain its beauty. Regular cleaning with a pH-neutral cleaner will help preserve its shine. Avoid using acidic or abrasive cleaners, as they can damage the surface of the marble.
Sealing your marble tiles periodically can also protect them from stains and moisture. Consult with your tile supplier for the best sealing products specific to your marble type.
Conclusion
Installing marble tiles yourself can be a rewarding project that enhances your space with timeless elegance. By following these steps and taking care of your materials, you'll achieve professional-looking results that you can take pride in for years to come.
